Currently on my computer I have these digital photo editing programs:
I have had Photoshop, Photo-Paint, CorelDRAW!, and Word since their initial releases decades ago.
When I went to upgrade Photoshop, I discovered the steep price. I also discovered Lightroom, so rather than the steep price for a Photoshop upgrade, I opted to continue using my very old version of Photoshop and learn Lightroom.
When I went to upgrade my very old versions of Photo-Paint and DRAW!, I discovered PaintShop Pro. The price was very reasonable, so I bought it.
I use all of those programs for various purposes, but my current goal is to see if I can get Photoshop to do everything. If I can, then ultimately I’ll be migrating my skills in all the other programs over to Photoshop.
I think that Photoshop is the most powerful individual programs, but if I combine DRAW! X6 and either Photo-Paint X6 or Paintshop Pro X4, I can do in them anything that Photoshop can do. The question is, “How easily?” or “How much time is involved?”
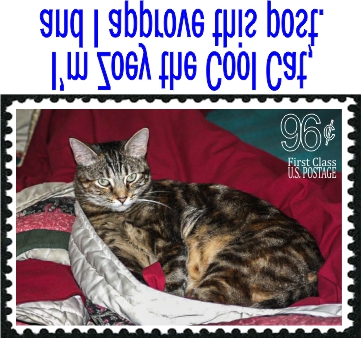
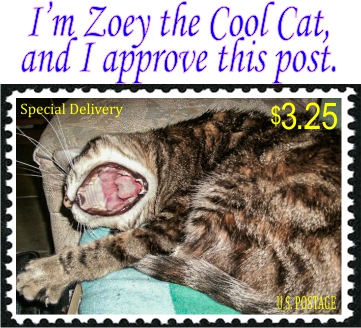
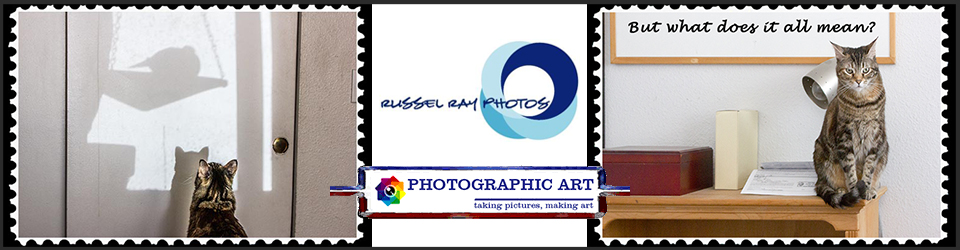
For example, I use CorelDRAW! X6 to do the Zoey the Cool Cat approval stamp at the end of each post. It takes me about 15 seconds. To do it is Photoshop would take several layers and lots of time, and I haven’t found that Photoshop Actions can really automate everything for me yet.
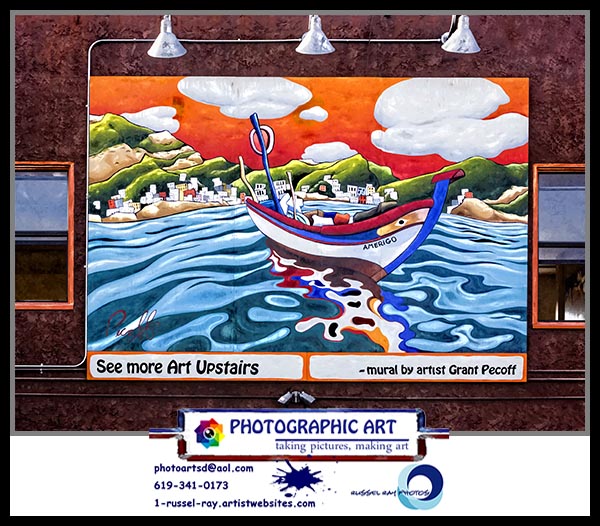
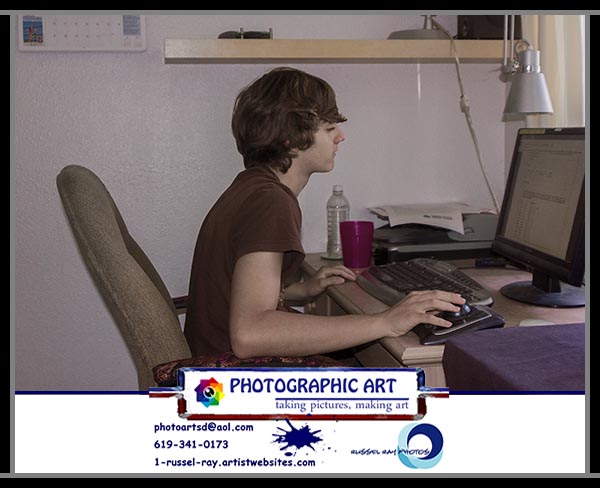
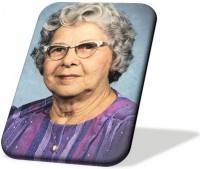
I use Word 2010 to create quick frames, like the one I use for my wise old grandmother:

That took about 15 seconds in Word 2010.
I use Lightroom 4.1 to give me quick JPGs from RAW files and to do quick adjustments for exposure, highlights, shadows, contrast, and clarity (sharpness). Five sliders takes about 30 seconds. The same tasks in Photoshop takes several minutes due to having to go through Adobe Camera Raw first and then into Photoshop. Minimum of five layers in Photoshop.
I use Photo-Paint to create GIFs. It’s the easiest program I’ve found for that:

PaintShop Pro X4 is very similar to Photoshop, and I’ve found it much easier to use. However, simply because Photoshop is the defacto standard throughout the world, Photoshop is where I’m dedicating my time. When you have a defacto standard, you have a lot of people doing tutorials and creating plugins and such. So Photoshop it is.
One you have created certain effects that you like in any of the programs, you can either save the file as a template and then just replace the picture as needed (that’s what I do in CorelDRAW! and Word) or you can create actions, scripts, or macros in the other programs to automate tasks. As with anything, it takes time to set it up initially but then the ROI on your time is returned each succeeding time you do the same thing.
If you’re considering Photoshop and find the price too steep, consider leasing it, which is what I do. I have a one-year lease with Adobe that costs me $19.99 a month. Considering that the full program is $699, it would take me 35 months of leasing to pay for the program. That’s three years. During those three years, Adobe will come out with two upgrades, costing you $199 each, another $400. You’ll never be able to stay up to date with the latest and the greatest. With a lease, you can.
Twenty dollars a month is less than any of my other individual bills — gas, phone, cable, mortgage, electricity, etc., and something I can easily afford. Coming up with $699 all at one time, and then $199 every 18 months, can often be difficult for the 99%.
If you’re considering a Photoshop lease, when you go to buy the product, in the dropdown box, select “Subscription” instead of “Upgrade” or “Full.”
Once you have any of these programs, if you have a question about how to do something, ask me. If I don’t know how to do it, I’ll find out. It helps me learn, and real-world examples are always much more fun than reading through a book or watching a tutorial.

Looking for real estate services in San Diego County?
I can highly recommend
James Frimmer, Realtor
Century 21 Award, DRE #01458572
If you’re looking for a home inspector,
I recommend Russel Ray — that’s me!


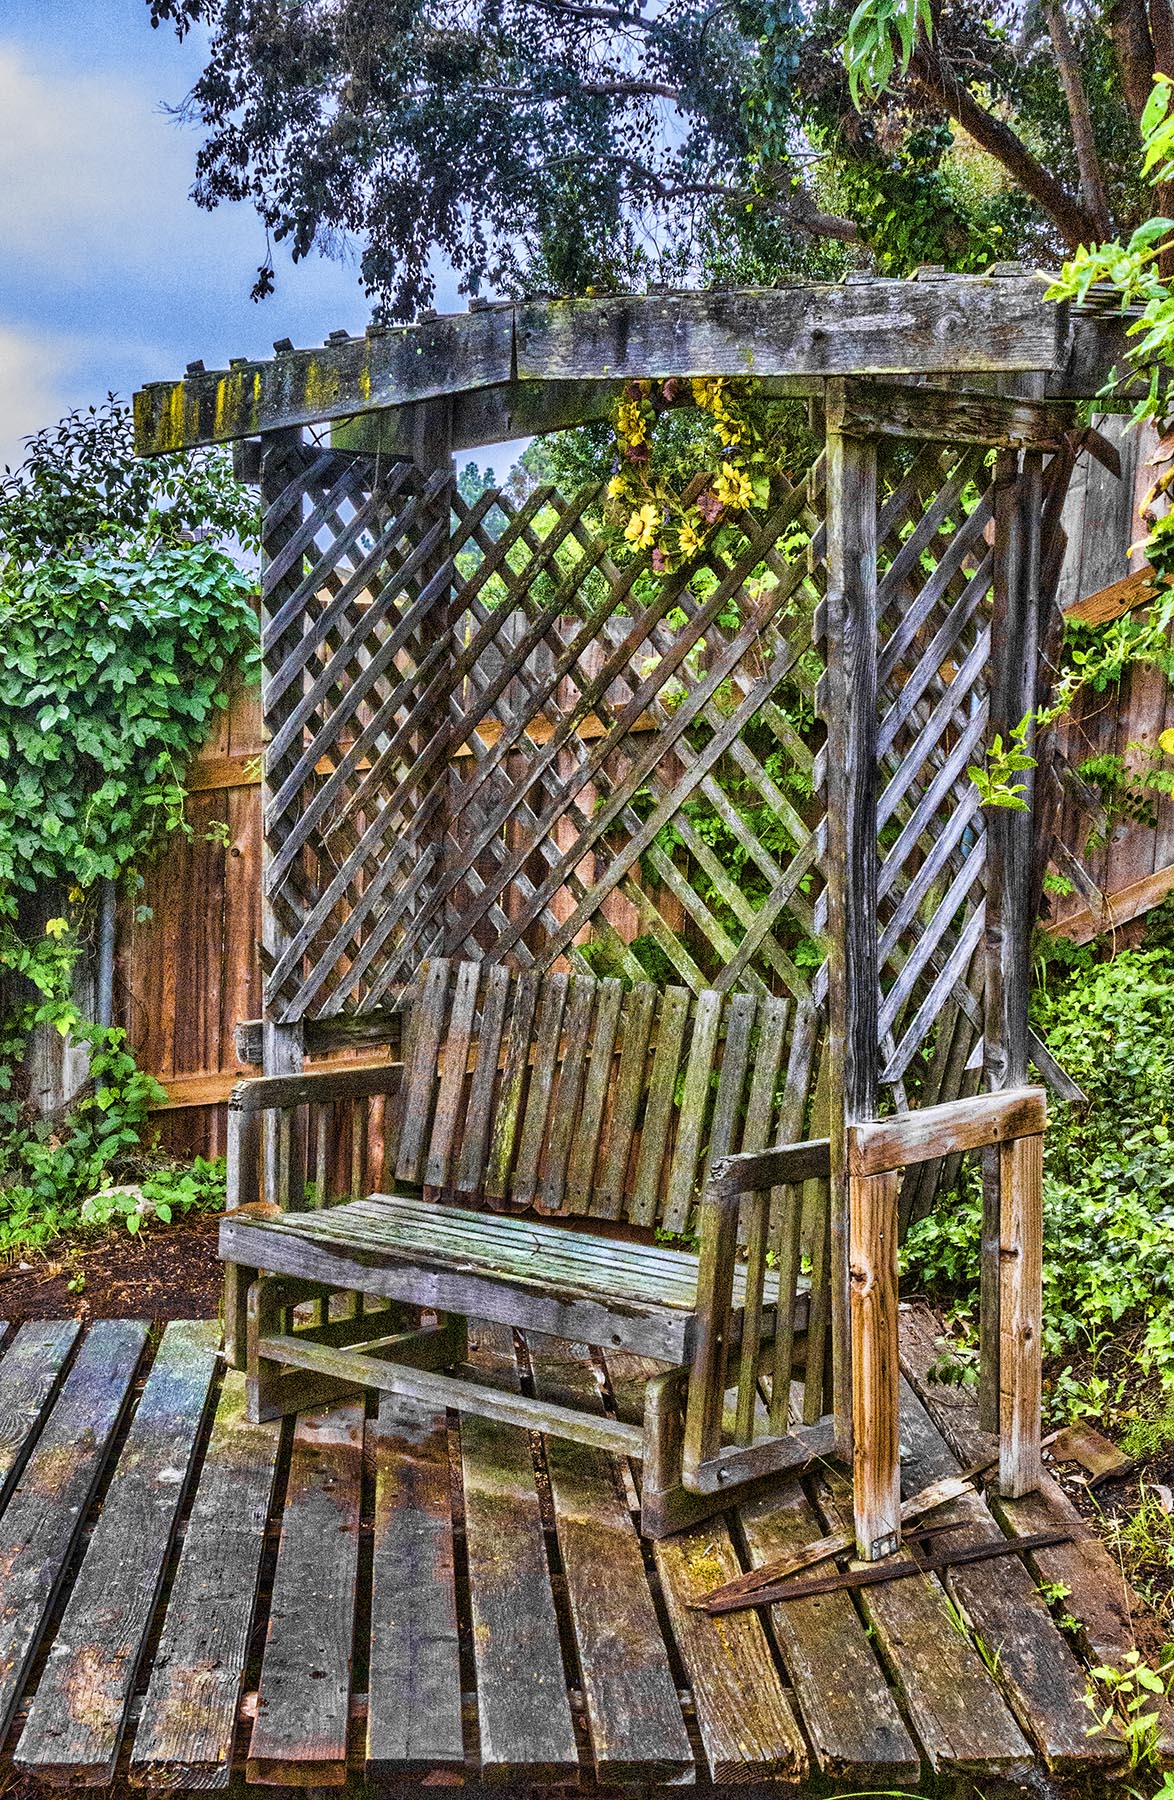
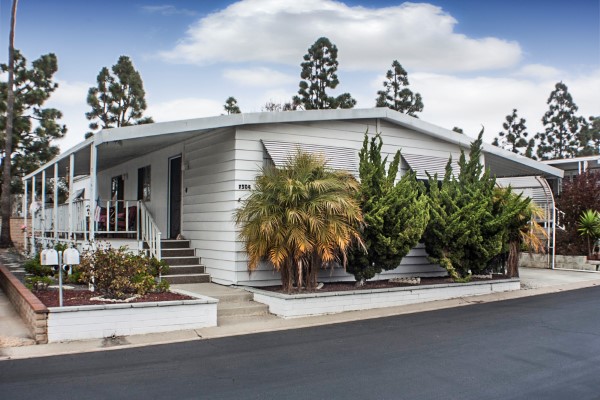
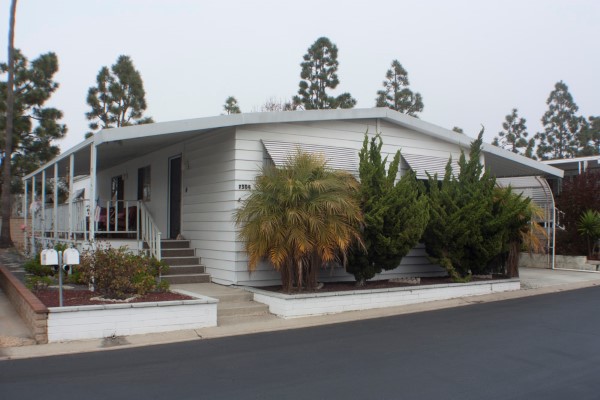
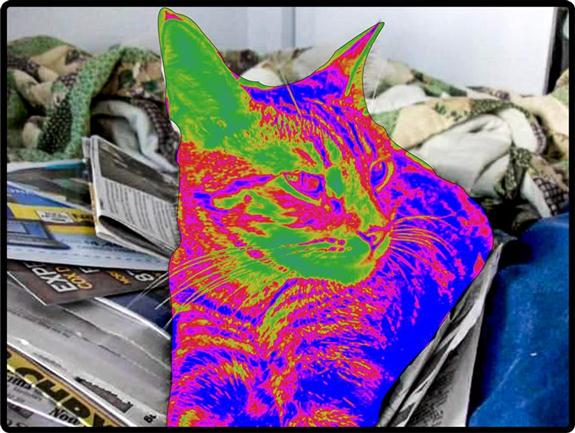
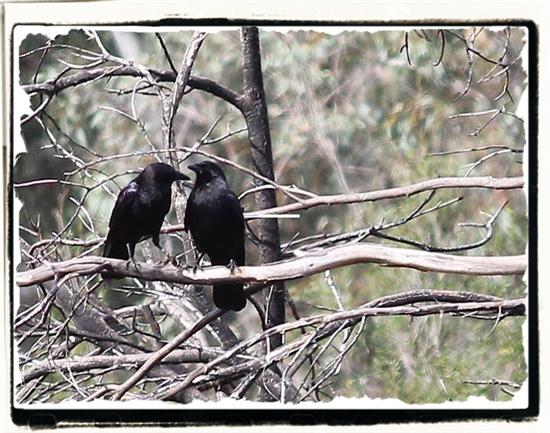
 gray colors are many other colors wanting to get out. Photoshop to the rescue!