

![]()
![]()
I didn’t have to search very far to find a picture with lots of wires in it to illustrate how easy it is to remove them. Here’s the picture:

![]()
Right click on that picture, download it to your computer, open it in Photoshop, and follow along.
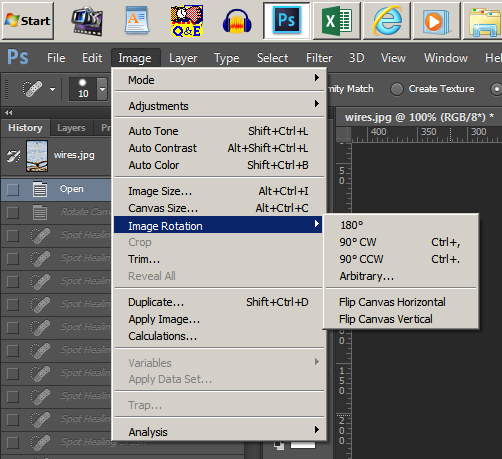
With the file open in Photoshop, first let’s rotate it 90° clockwise. My purpose in doing this is because, when you are using a mouse, it’s easier to move your mouse horizontally back and forth than it is vertically up and down.
Click on Image ► Image Rotation ► 90° CW.
![]()
I use the rotate clockwise (90° CW) and rotate counterclockwise (90° CCW) command regularly, so I have assigned keyboard shortcuts to them. That’s the CTRL + , and CTRL + . you see next to the commands on the menu.
You should have a rotated image that looks like this:

![]()
All of the wires are relevant except for the top two, so we’re going to remove those.
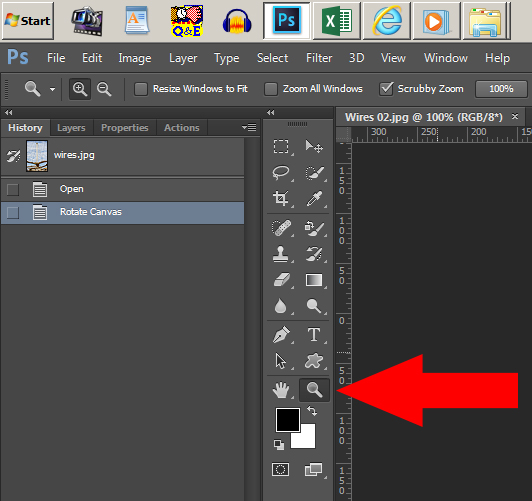
First we need to magnify the area that we are going to work on. Click on your magnifying glass….
![]()
Now click three times at the top edge of the picture where the topmost wire is. That should give you this:
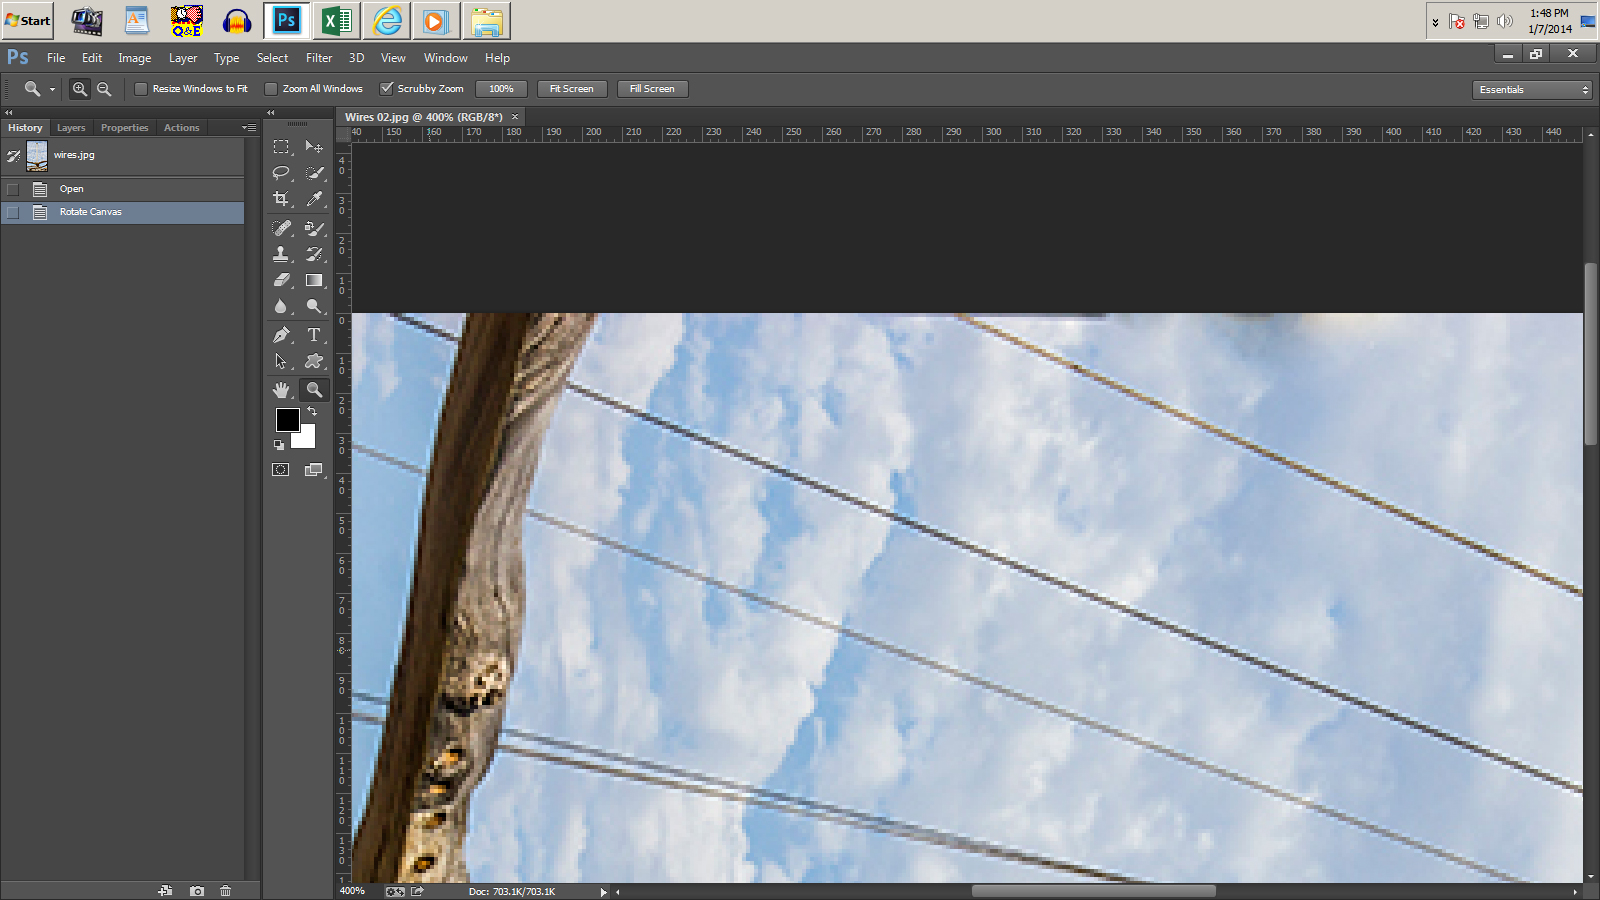
![]()
We want to use the Spot Healing Brush Tool:
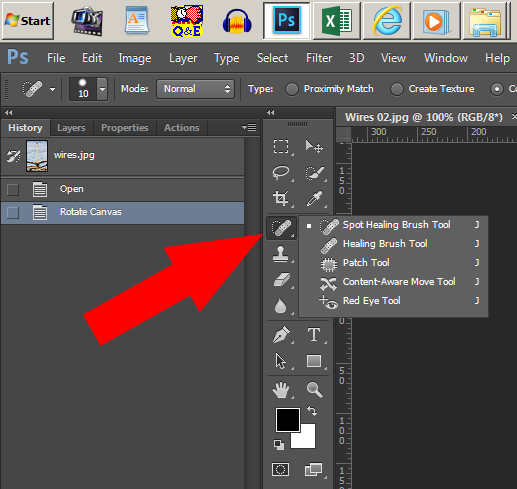
![]()
If you’re thinking, “But wires are not spots!”, well, don’t think that! Wires are just long spots, very long spots.
You want your Spot Healing Brush Tool to be slightly larger than the wire you’re going to remove. When you work at these higher magnifications, you’ll see a lot of fuzziness and jagged edges. That fuzziness and jaggity (jaggity?) is actually part of the wire, so make sure that the size of your brush covers all of the wire. I found that a brush that is 10 pixels worked well on these wires. Go to the options bar and set your brush size to 10 px:
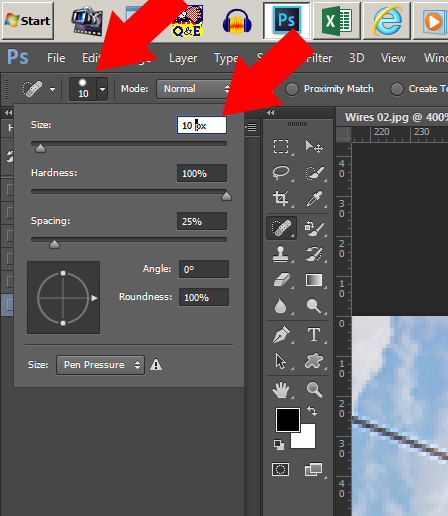
![]()
The other values should be default values, but make sure your Hardness is set to 100.
Now simply click once at the top end of the topmost wire, move your cursor to any other spot on that wire, hold the SHIFT key down, and click again. The wire magically disappears:
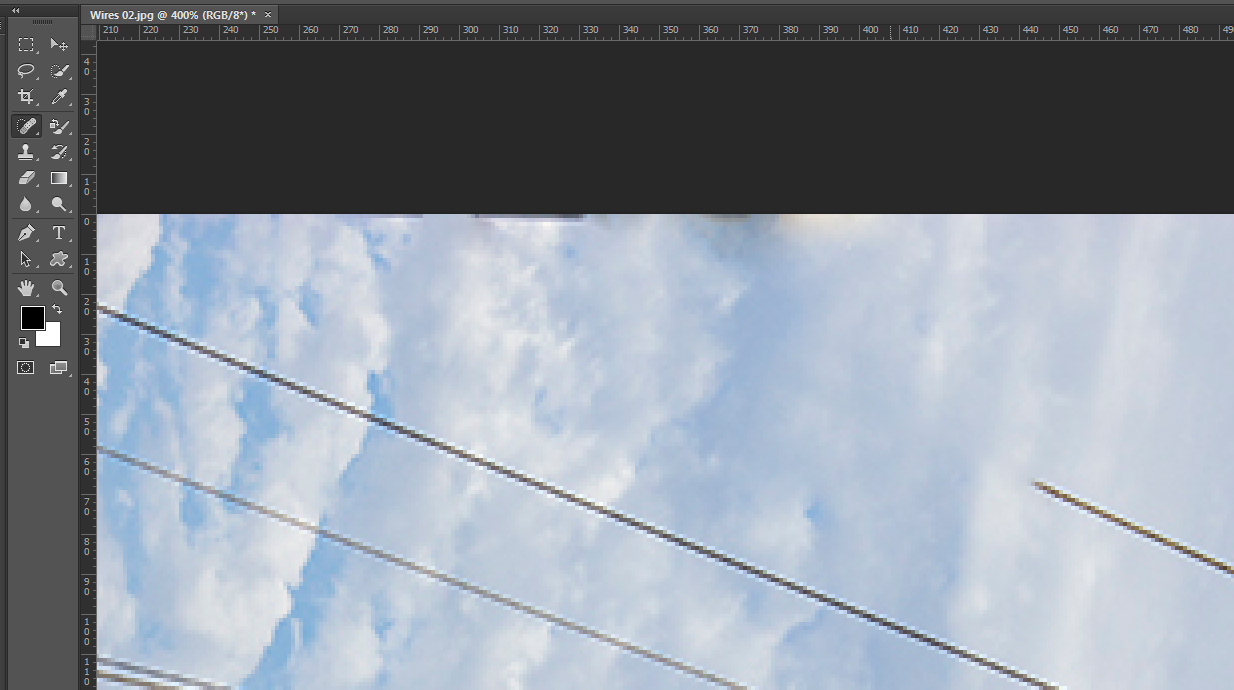
![]()
You’ll get the best result if you center the wire within your 10 px brush.
Keep doing that all along the wire, and soon you will have no wires!
This works most quickly on straight wires, but if you have a drooping wire, simply use shorter distances between your first click and your SHIFT click.
Here’s my finished picture:

![]()
Much better. You can go further and remove all the wires that are going to the pole that is out of the picture. If you do that, you’ll discover the limitations to Photoshop’s Content-Aware feature. Once you have the other wires removed, you’ll have some cleanup work to do. Not so much that the chore becomes tedious, though. If you know how to use the Clone tool, you’ll have the cleanup work done in no time.
More complicated backgrounds sometimes work in your favor and sometimes work against you. I have found it best that when you have more complicated backgrounds, simply use shorter distances between your Click and your SHIFT Click.
There you go! I figure if the power company won’t get rid of these wires (by putting them underground), we’ll get rid of them ourselves!
![]()

Looking for real estate services in San Diego County?
I can highly recommend James Frimmer, Realtor, CDPE
CA BRE #01458572

If you’re looking for a home inspector,
I recommend Russel Ray — that’s me!![]()
![]()

Great post! (and I love that you started on elementary yearbook too 🙂 )
LikeLike
Magic!
LikeLike
Great tip. Photoshop is still like a dark art to me but advice like this is priceless.
LikeLike
This is magic! HA! You’re good at explaining things
LikeLike
Very cool – thanks!
LikeLike
Thank you!
LikeLike
Pingback: Ruocco Park in downtown San Diego | Russel Ray Photos
Wow!
LikeLike